Endo-Endo-Looping
The video requires an internet connection.
History
A 53-year-old patient with a history of cirrhosis obesity and asthma, presents with nausea, vomiting, intermittent epigastric pain.
Clinical & biological
No signs and symptoms.
Imaging
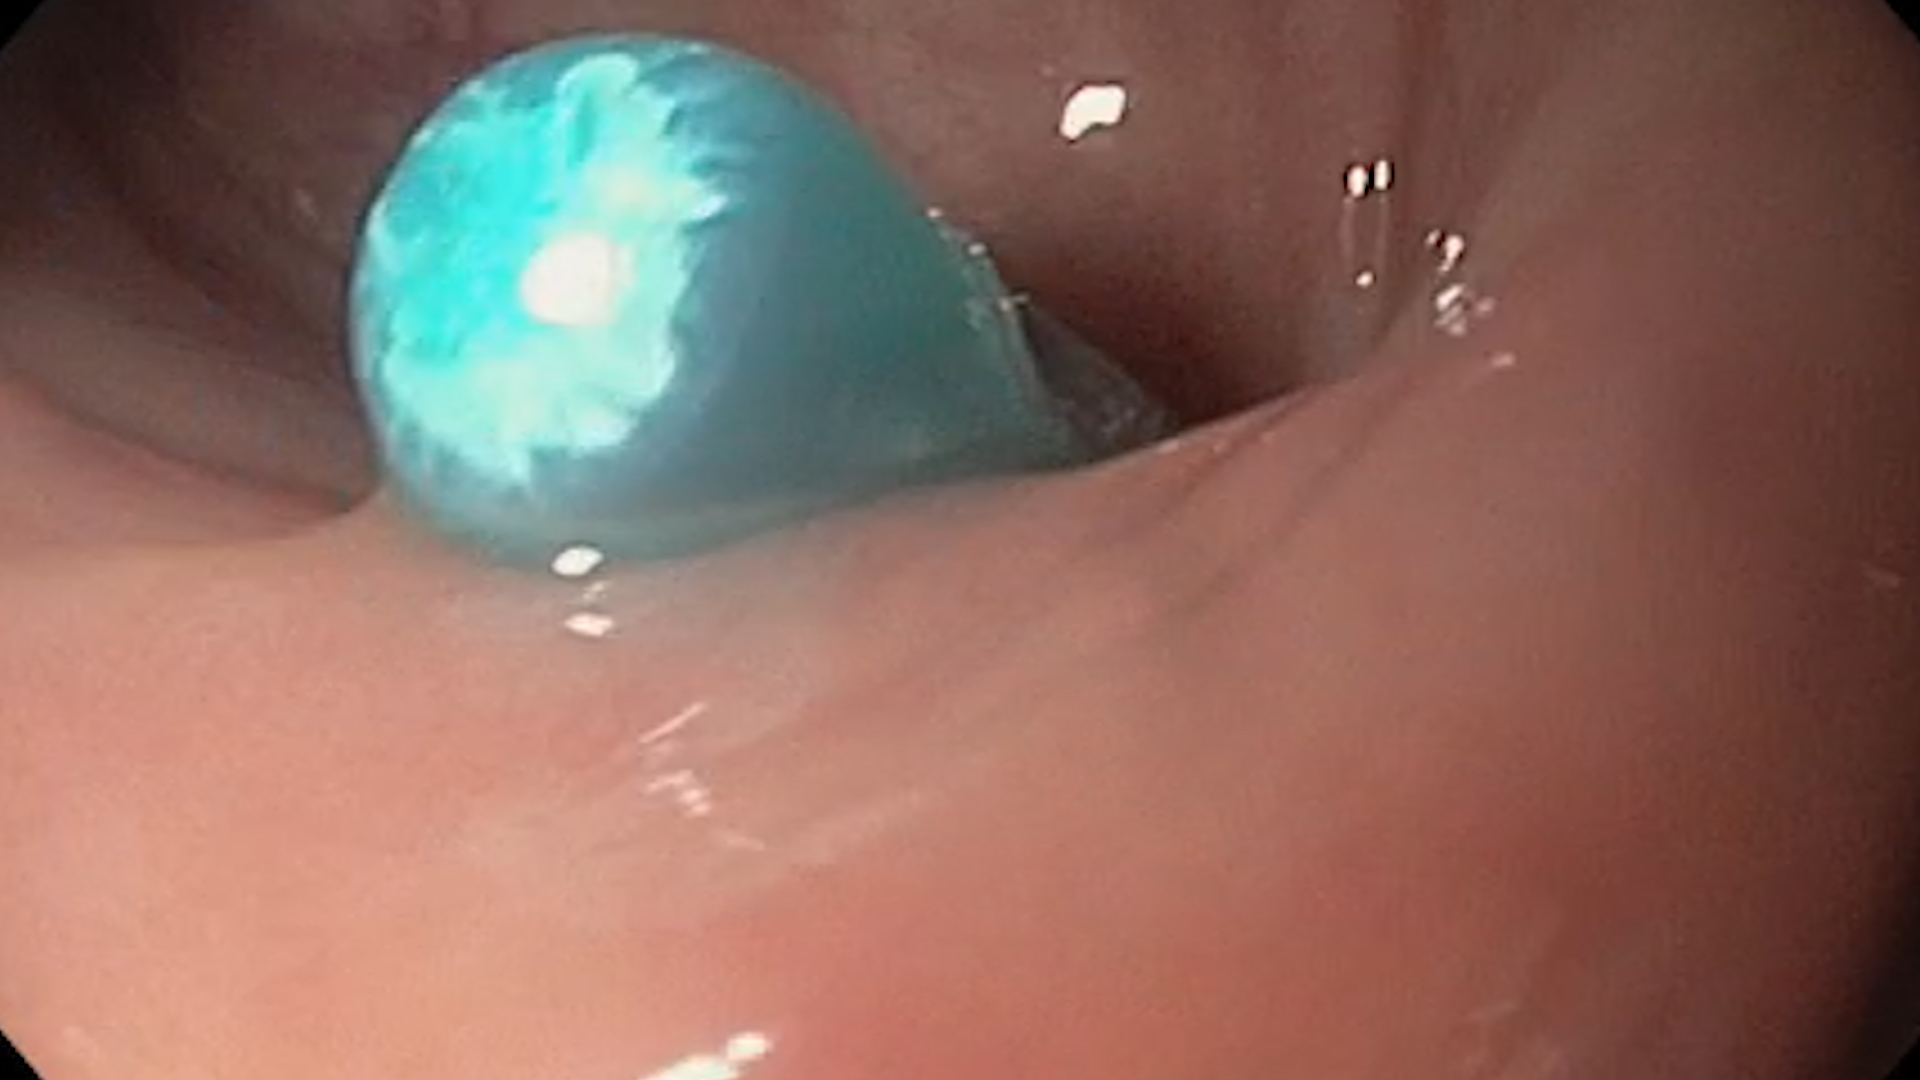
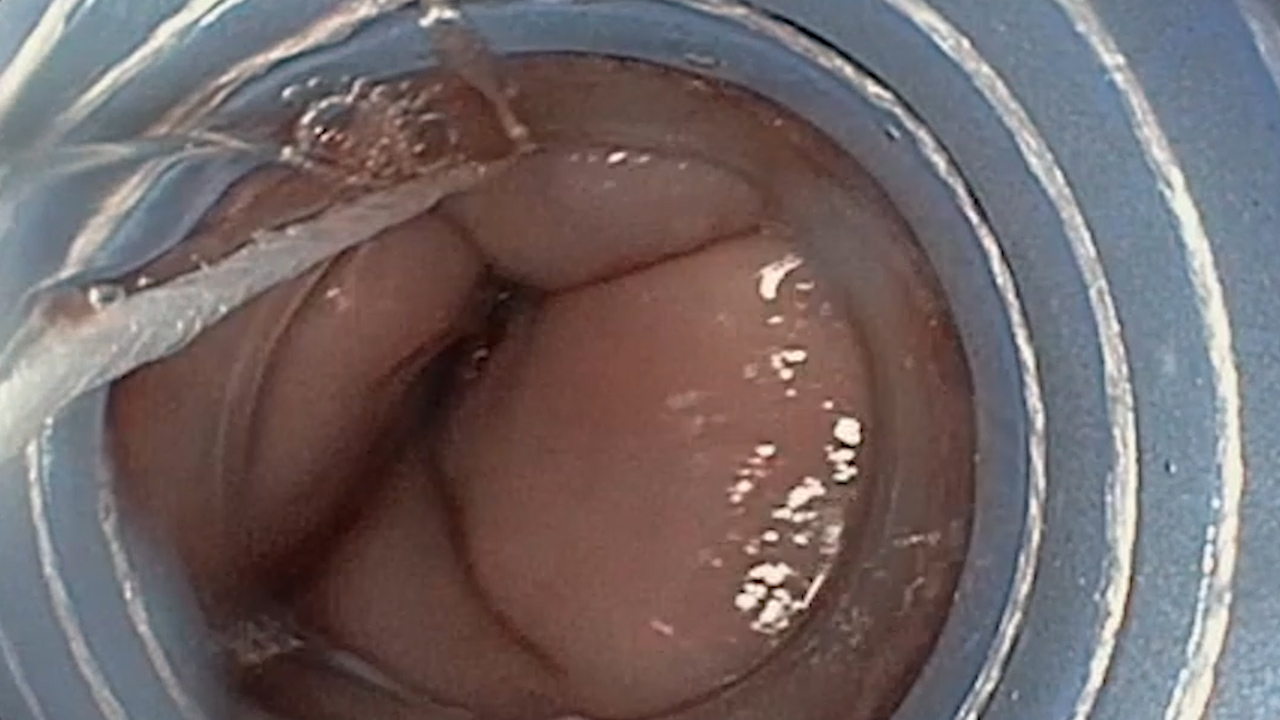
Upper GI endoscopy revealed a polypoid lesion, with a thick pedicle (> 15 mm), with hyperemia of the covering mucosa (Figure 1, Movie 1-2), classified as a Paris 1p lesion, located prepyloric. Multiple biopsies were taken, with the appearance of a hyperplastic polyp.
Diagnosis
Discussion
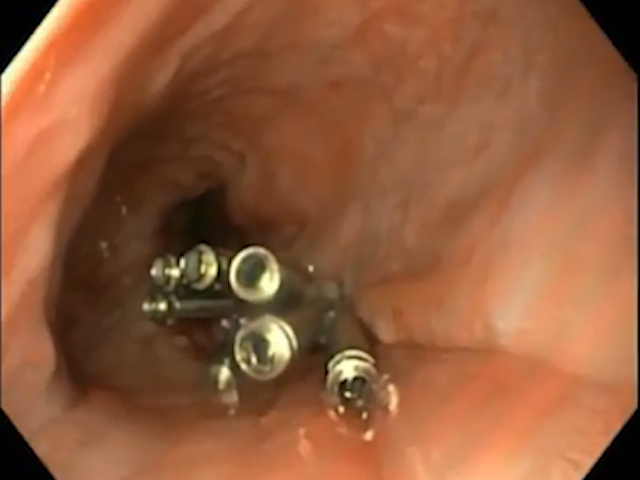
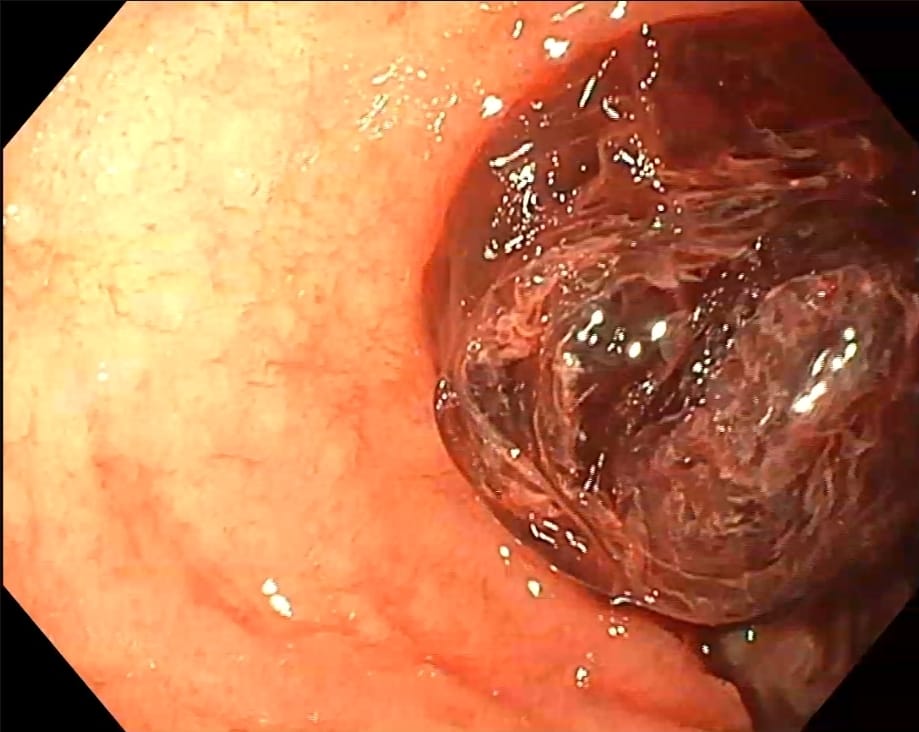
Epithelial gastric polyps include adenomatous and hyperplastic polyps, considered precursors of early gastric cancer. Polyps are generally referred for polypectomy, especially if the patients are symptomatic and/or have foci of dysplasia. Polypectomy techniques are conventional, but generally require the use of hemostasis techniques (placement of clips / elastic bands). Due to the risk of bleeding during polypectomy, 2 elastic bands were applied, followed by removal of the polyp by self-amputation (Figure 2, Movie 1-2). The 7-day control examination revealed only a linear scar on the remaining pedicle (Figure 3).
Conclusions
Prepyloric hyperplastic polyp, endoscopically ligated (loop-and-leave technique).
References
1. Goddard AF, Badreldin R, Protchard DM, et al. The management of gastric polyps. Gut 2010; 59: 1270-1276.
2. Jung M. The 'difficult' polyp: pitfalls for endoscopic removal. Dig Dis 2012; 30 Suppl 2: 74-80.
3. Lo CC, Hsu PI, Lo GH, et al. Endoscopic banding ligation can effectively resect hyperplastic polyps of stomach. World J Gastroenterol 2003; 9(12): 2805-8.
4. Walker J, Howell DA, Gupta S, et al. Combined volume reduction with the loop-and-leave technique permits safe endoscopic management of high-risk giant gastric polyps. Gastrointest Endosc 2016; 83: 655-6.